

Voyages
NOTE: Voyages can also be created in the Programme Construction Module directly from the cruise application.
Create a new voyage
- Go to the ‘Voyages and Transports’ page.
- Click ‘New’.
- Select ‘Voyage’.
This brings you to the ‘General Information’ setup.
- Fill out the fields and click the ‘Save’ button to create the new voyage.
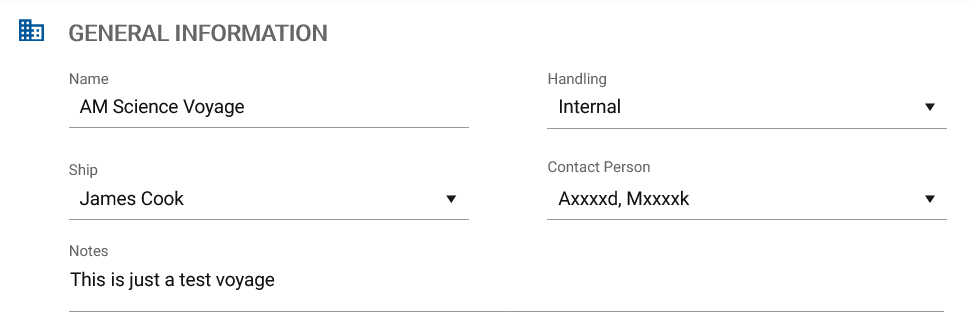
Fig. New voyage general information fields.
Now that you have created a new voyage, you can add port call details such as departure/arrival dates and ports, or connected transports. The port call details background remains red until departure port and date, and arrival port and date are selected. After selecting ports and dates, additional fields become available.
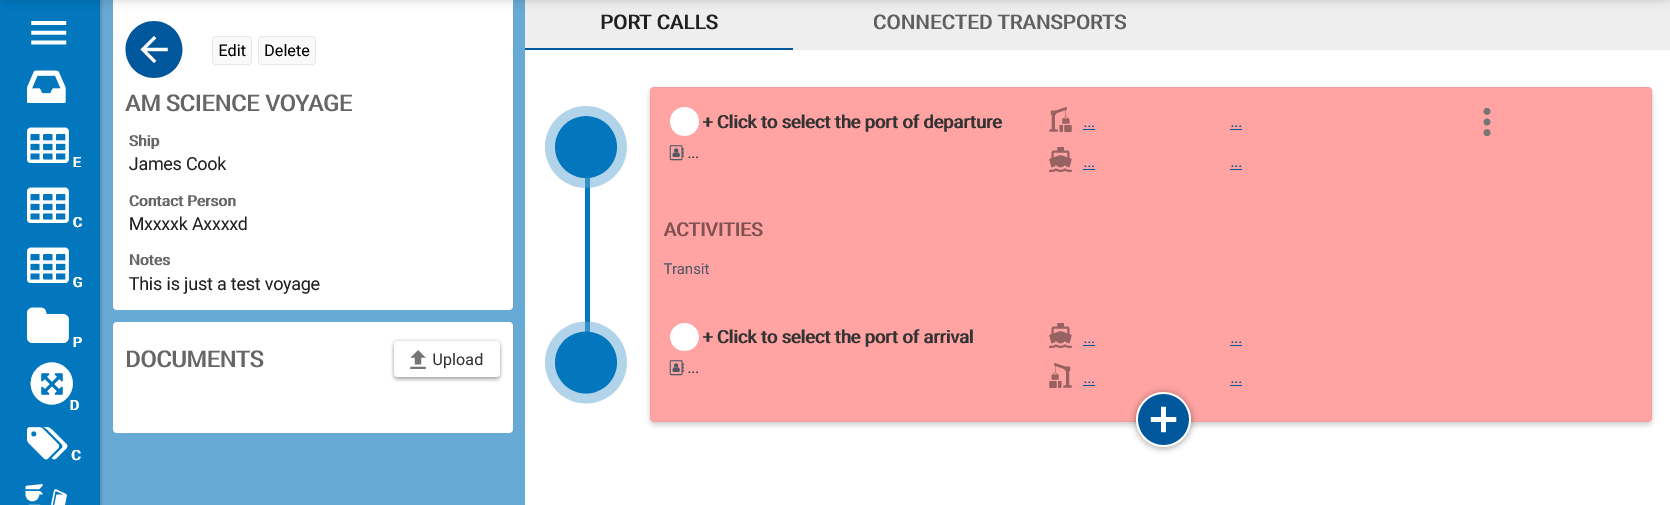
Fig. A new created voyage.
Add additional voyage information
After creating a voyage, additional information such as ports, dates, activities and Planlists can be added.
List of used icons:
| Select agent for handling import and export of goods. | |
| Mobilization start date and time. | |
 |
Demobilization end date and time. |
| Departure/arrival date and time. | |
| Manage Planlists and download customs reports. | |
| Number of scheduled technicians. | |
| Number of return samples. | |
| Add a destination port to the voyage. | |
| Delete individual voyage segments. |
Activities can be used to add cruises or deployments to the voyage. When no activities are added the voyage is treated as a transit.
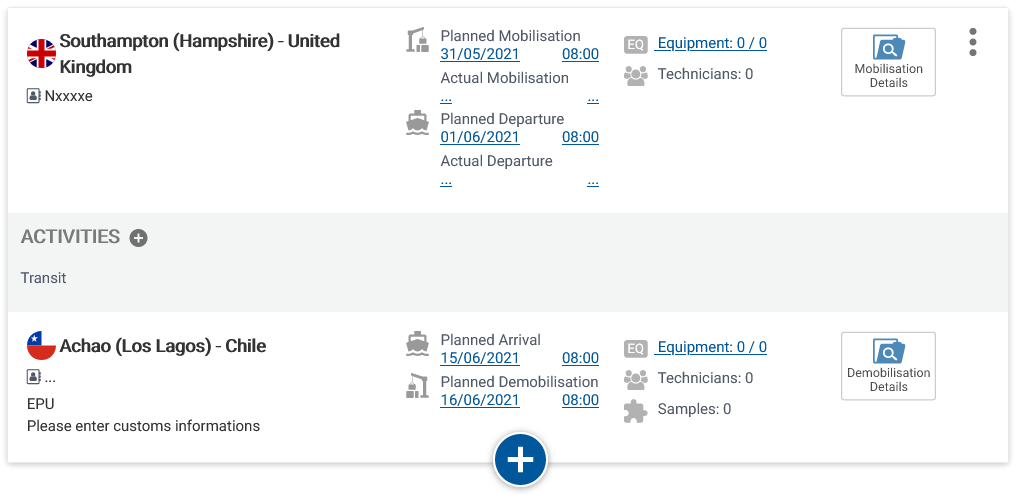
Fig. Voyage including departure/arrival ports and dates.
Attach documents to a voyage
- Click the ‘Upload’ button in the ‘Documents’ section. This opens the document upload dialogue box.
- Click ‘Select file…’ to browse for a file on your computer, or paste a link to an online document.
- Enter an alternative document name. When left empty the file name is used.
- Click ‘Save’ to attach the document to the voyage.
Repeat the above to attach more than one document.
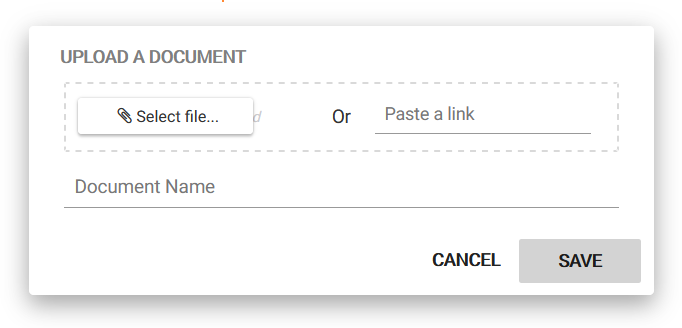
Fig. Upload document dialogue box.
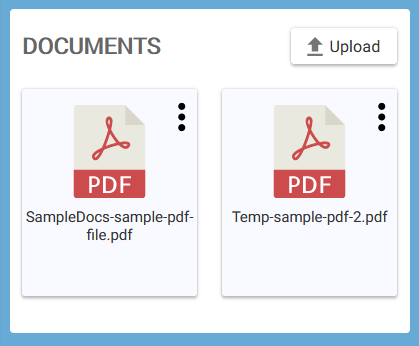
Fig. Documents section including documents.